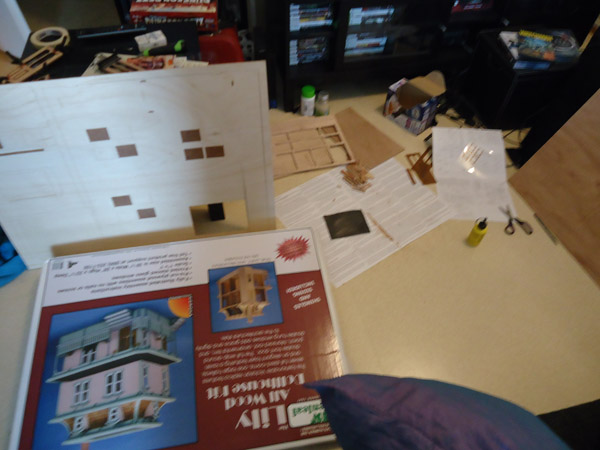
DAY 1 This is what our living room floor looked like after I opened the gigantic package. So many tiny parts. So much to do. I was ready to panic but one of the first things I read from the instructions was "Don't panic!" so I figured hey, I'll be fine :D
DAY 2 It seriously took me forever to get all the windows ready to be glued on the walls. So much sandpapering to do, the wood material is not very good, some boards are better than others and it splinters just from looking at it, sandpapering doesn't necessarily help much at all cause it splinters more if you sandpaper it. Oh well. I'm glad I'm making a very old looking house so it doesn't really matter. But yes, First two days was all about getting window parts ready for gluing and painting. One single window has a LOT of parts that you have to attach together by yourself, nothing is ready made. That's why this is a kit I suppose.
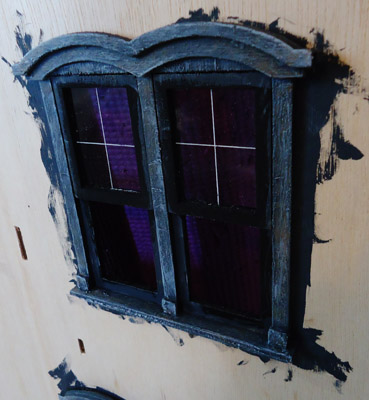
I think it was on day 4 when I got my windows all painted and ready from the front side. I didn't want to glue the windows on the inside of the house yet because I was afraid I would break them when I start putting walls up and also because I figured that wallpapering would be a major pain if there would be windows inside as well. Now looking at the windows I feel a lot better, spending so many days painting and getting sticks ready to be glued together felt ridiculous. After I made them look all old. I smiled :)
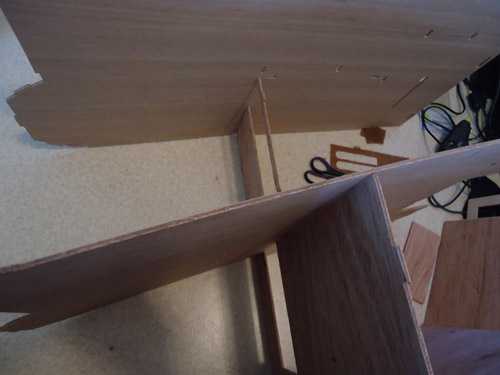
DAY 4 I also managed to FINALLY get some walls up. It seemed to be so easy in the instructions. "Slide the wall in" they say.. yeah right. more like sweat 20 minutes and cut it smaller and smaller and try to ram it in place without breaking anything. The parts are made to FIT. But they aren't made to slide in, they are too big to slide in without breaking something. In the picture on the left, you see how tight the floor is, it's so tight, that it's bent. The wood couldn't stay straight and take the pressure, unfortunately, I couldn't even pull this part out again after I got it in so I could have made it a little bit more space so it wouldn't be bent. So now I will have a bent floor :(
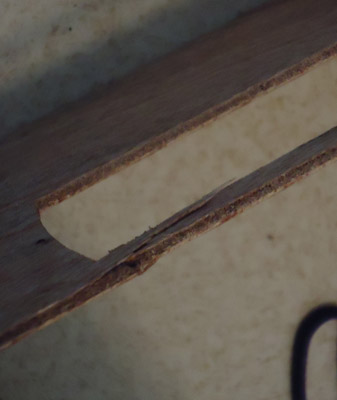
Here is one of the doorways that just splintered in seconds. I wasn't even pushing it hard, the wood material just is weak and it was too tight for it to fit there straight. I want everyone to know this who are building the same dollhouse as I am, try very gently first, if it doesn't go in, slice it up with a hobby knife or sandpaper it and try again. The wood will crack if it won't go in.
Be very careful. I was very careful and this still happened.
Be very careful. I was very careful and this still happened.

Here is the same effect when trying to "slide" the front wall in. The wood can't take it. It's too tight. I had to take like half a centimeter of wood away before it would go in and I still had to push pretty hard to get it there. Thankfully I didn't break anything with the front wall AND I was super happy that I didn't glue the windows on the inside wall now because I would have probably broken them when I tried to get this wall in place. It took me over 20 minutes to try to get it there. But in the end, after a lot of carving and cursing and sweat, it did go there. Don't lose hope :D
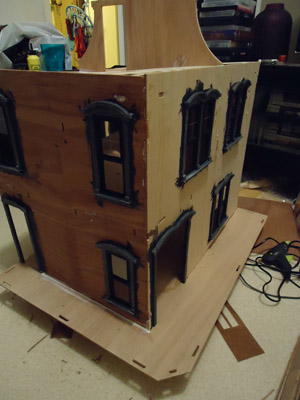
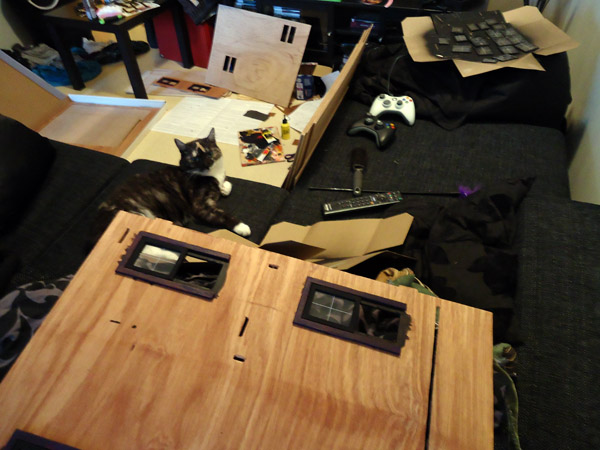
DAY 5 Now this was a sight I had been working for so hard. I felt so good seeing those walls standing there. After so many days, it finally looked a bit like a house!!!! I'm just hoping that I have not glued anything wrong so that the rest of the house won't be crooked like the floors... But yes, I can smell the scent of victory, I beat those damned walls :D
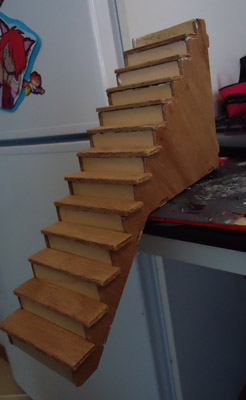
Yep. I built the stairs WRONG WAY AROUND. The instructions don't have any how-to-do-this-pictures, it's only text and english isn't my mother tongue either. I tried to google photos on how these stairs are made but I could only see pictures of the front or when they are already in place in the house so I just shrugged and went on building them thinking this is the way to go but I feel so stupid now because as soon as I was done with the stairs I realized this can't be it. So yep. I had to pull all the parts out again apart from the sides and backers.

There. Stairs glued once again, only this time the right way around. Hehehe...
Sigh :D
Seriously if you're building the Lily house too just look at that picture above and remember that's a stupid thing to do :)
Sigh :D
Seriously if you're building the Lily house too just look at that picture above and remember that's a stupid thing to do :)
 RSS Feed